NFTs for you — 2
Let’s learn the ins and outs of NFTs with some real-time examples and guiding screenshots. Before we get our hands dirty, let’s understand a few important terms used in the NFT space before we move ahead:
● Minting: The process of converting anything into Digital files and listing for Sales.
● Wallet: As the name suggests, a software that stores your cryptocurrency and which helps in making payments through cryptocurrencies. Imagine it like a PayTM, GooglePay wallet.
● Collector: Someone who buys your NFT.
● Reserve price: During the bid the minimum price of an NFT.
● Sale Price: If someone wants to buy an NFT without bidding, the price you keep is the sale price.
● Bid Price: The price at which a collector wishes to buy the item during the process of bidding.
● Shilling: A word used on Twitter to describe going into spaces and talking about your NFTs in the hope of sales.
● Burning: When you delete an NFT from the Blockchain by paying burning fees.
● Crypto exchange: An application that acts like a stock exchange to buy and sell cryptocurrency.
● Gas Fees: The transaction fees that you pay on blockchain for any transaction that you carry out.

How can you Create NFTs or Mint NFTs: With the real-time example and screenshots
Step 1:
You need to create an account in an exchange like Binance by submitting your KYC. This exchange will help you buy the first Cryptocurrency and also store subsequent cryptocurrencies which you will generate from the sale.

Once you create your account, you need to buy USDT with your INR which is an equivalent token as USD but not be confused with USD. It’s an internal token and also called a Stable coin as the prices don’t fluctuate much unlike other Cryptocurrencies.
A great tutorial on how to buy USDT using INR from the official site of Binance is here with screenshots that will help you to understand the step by step process: https://www.binance.com/en-IN/support/faq/360039384951
Step 2:
Once you buy USDT, you will see the USDT in your Funding wallet. Before you can buy ETH using your USDT you need to transfer the USDT from the Funding wallet to Spot Wallet.

Go to the Funding section of the Binance and click on Transfer. In the From section, it should be ‘Funding’ and in the To section, it should be ‘Spot wallet’.
Select USDT from the drop-down menu and click on max and then click on Transfer. Now you have USDT in your Spot wallet which you will use to buy the ETH.
Now the next step is to buy ETH using USDT on Binance which is in the Spot wallet. This will help you pay for your initial GAS fees to mint your artwork.
Go to the home page, and click on “P2P Trading”. On the P2P page, click the “Buy” tab and the crypto you want to buy, and then select an ad and click the “Buy” button. Once you buy USDT, you need to go to the ETH section and buy ETH using USDT.
Our suggestion is to buy approx. 0.02ETH to 0.05ETH as of 17th April to cover your GAS fees. You can check the GAS prices here ( https://etherscan.io/gastracker)
Step 3:
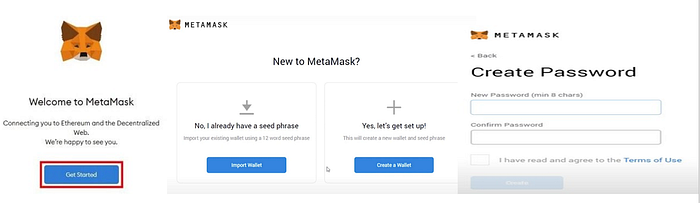
The next step is to create a MetaMask wallet.
Go to https://metamask.io/ and download the Chrome extension. MetaMask works as a Chrome extension.
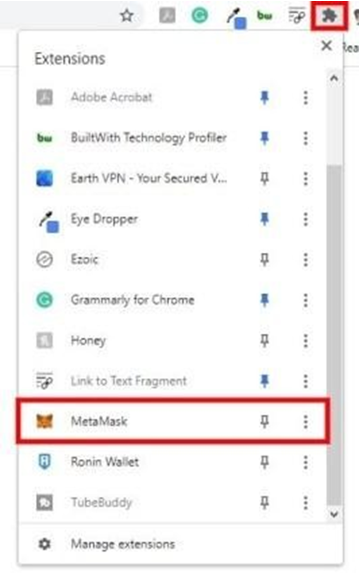
Once you install the MetaMask wallet in your Chrome extension, you just need to create an account in the MetaMask wallet and follow the steps by clicking Create Wallet.
Once you’ve completed the above steps, you’ll be able to access your new MetaMask wallet. There are two main components you’ll need to familiarize yourself with so that you can begin using the software:
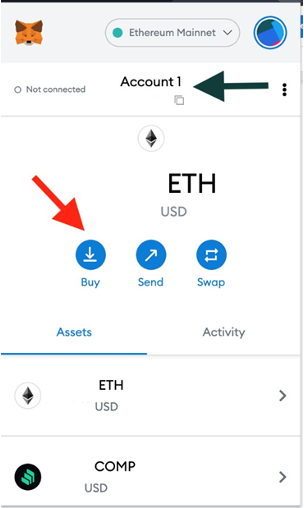
Identifying your public address: This is the address you can freely share with people or platforms like exchanges in order to receive cryptocurrency into your wallet. Think of it as your home address that you share with people to receive inbound mail. It’s always advisable, however, to check to make sure any inbound tokens are compatible with MetaMask first before receiving them, otherwise, they might be lost forever.
How to fund/buy and send: These are the core functions of MetaMask.
Step 4:
This is an important step to transfer the ETH that you have bought from Binance to Metamask.
Note if you put a wrong MetaMask wallet address the ETH will get lost and you will not be able to retrieve the lost ETH again.
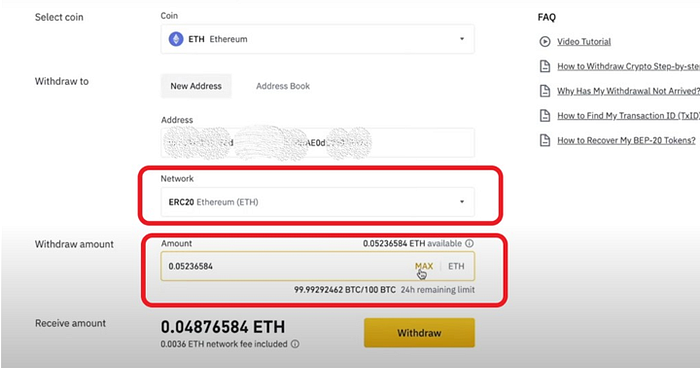
Following is the process to transfer the amount from Binance to MetaMask :
- Go to the Binance website
- Select Wallet
- Click Fiat and Spot
- Find Ethereum
- Paste your MetaMask wallet address
- Enter the amount
- Click Withdraw
- Enter the verification code sent
- Check in the recent withdrawal section
- Check your MetaMask wallet
The withdrawal page on Binance should look like this :
Once you transfer the ETH to your MetaMask wallet you should get the balance on the MetaMask balance.
Step 5:
You can choose any platform to mint your work
Below are a few Ethereum based market places. You have to use MetaMask wallet to Sign- up on:
Makersplace — https://makersplace.com/
Superrare- https://superrare.co/
Foundation — https://foundation.app/
Knownorigin — https://knownorigin.io/
Rarible — https://rarible.com/
Opensea — https://opensea.io/
Follow the process of uploading your artwork/photograph for the particular Marketplace you choose and pay the Minting Fees and you are ready to go to share your art with the world.
Opensea Example
We are showing you a sample of Opensea to show what different things mean in a Marketplace.
Disclaimer: NamasteyNFT doesn’t promote or suggest any particular platform. The artist needs to select the platform of their choice for minting. Opensea is just taken as an example here.
How to create NFTs on OpenSea
As a new user, you will need to register an account before you can start to interact with NFTs on OpenSea. You need to connect your MetaMask wallet with Opensea.
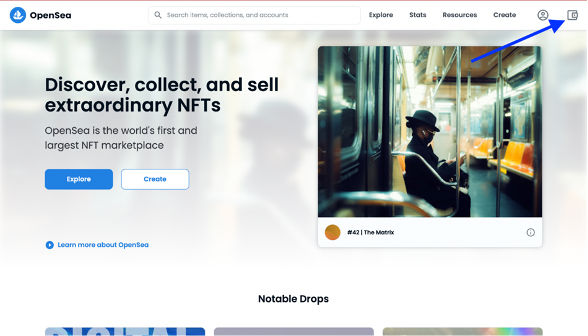
OpenSea will prompt you to sign an agreement to continue. Once you scale this stage, you can customize your account by entering a username, writing a bio and adding a profile picture.
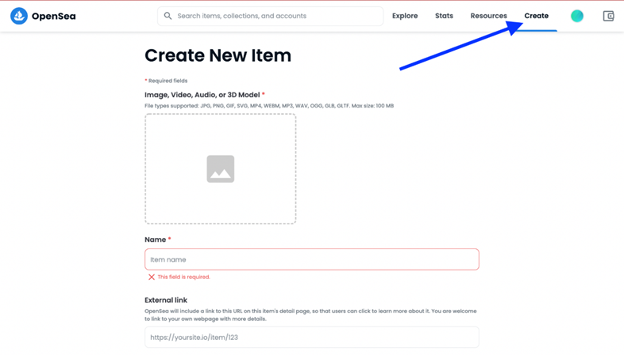
Adding NFTs to OpenSea
If you’re only looking to create single NFTs, click on ‘Create’ and enter a name, description URL link and anything else you want to include. Scroll to the bottom and click the lower ‘Create’ to mint it on the blockchain.
Create a Collection with Opensea
To create a collection, you’ll need to click on your account icon, then ‘My collections.’ Under the ‘Create new collection’ option, click on ‘Create’ to set a collection name, enter a description and upload an image. You can play around with the various editing tools on this page to give your collection a really unique feel.

How to sell NFTs on OpenSea
After creating your NFT, you can list it on OpenSea for sale. You can follow the steps below to do that.
● From your account page, select your profile image at the top right corner to reveal the Profile option. Click ‘Profile’ to be navigated to your wallet, where you can select the NFT you wish to sell.
● Once you have selected the NFT and navigated to the NFTs description page, click on ‘Sell’ at the top right corner of the screen to move to the listing page.
● On the listing page, you can choose to either set a fixed price for the item or opt for a timed auction, which requires interested buyers to outbid themselves to acquire the item. Furthermore, you can set a duration for the sales or reserve the NFT for a specific buyer.
● At the bottom of this page, you will find all the fees associated with this sale. Note that Opensea will charge a 2.5% service fee on all sales and a 0-10% royalty fee payable to the original creator of the NFT.
● After reviewing the details of this sale, you will be requested to sign a transaction on your wallet to confirm the sale. Since this is your first time selling an item on Opensea, you need to initialize your wallet to continue. Also, if you had imported the NFT from an external marketplace or you did not mint it on Opensea, you will need to undergo an extra confirmation process to permit Opensea to sell the NFT on your behalf.
And now, you are ready to say, “NamasteyNFT”.
Tanayesh
Team NamasteyNFT
